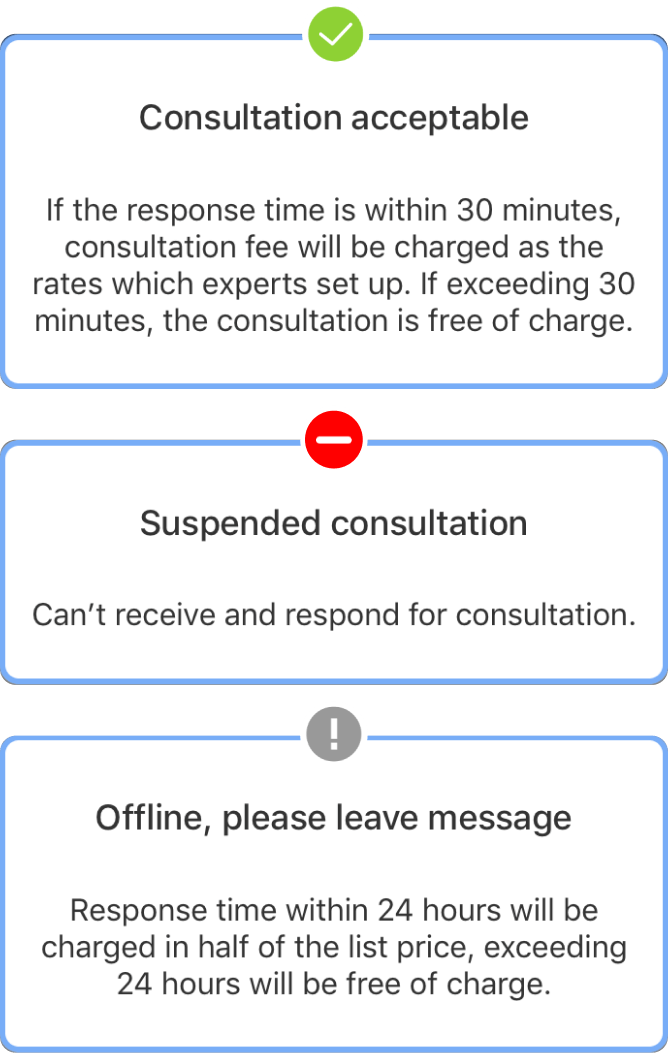
Step 1 Setting your consultation status
Open the app and click on Status below your avatar. Three consultation statuses will show up on the screen for you to select from

Step 2 Setting your service status schedule
2-1. Access Service Status Schedule screen
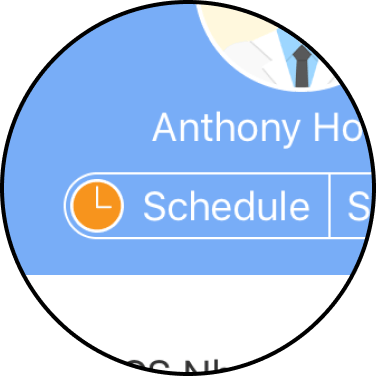
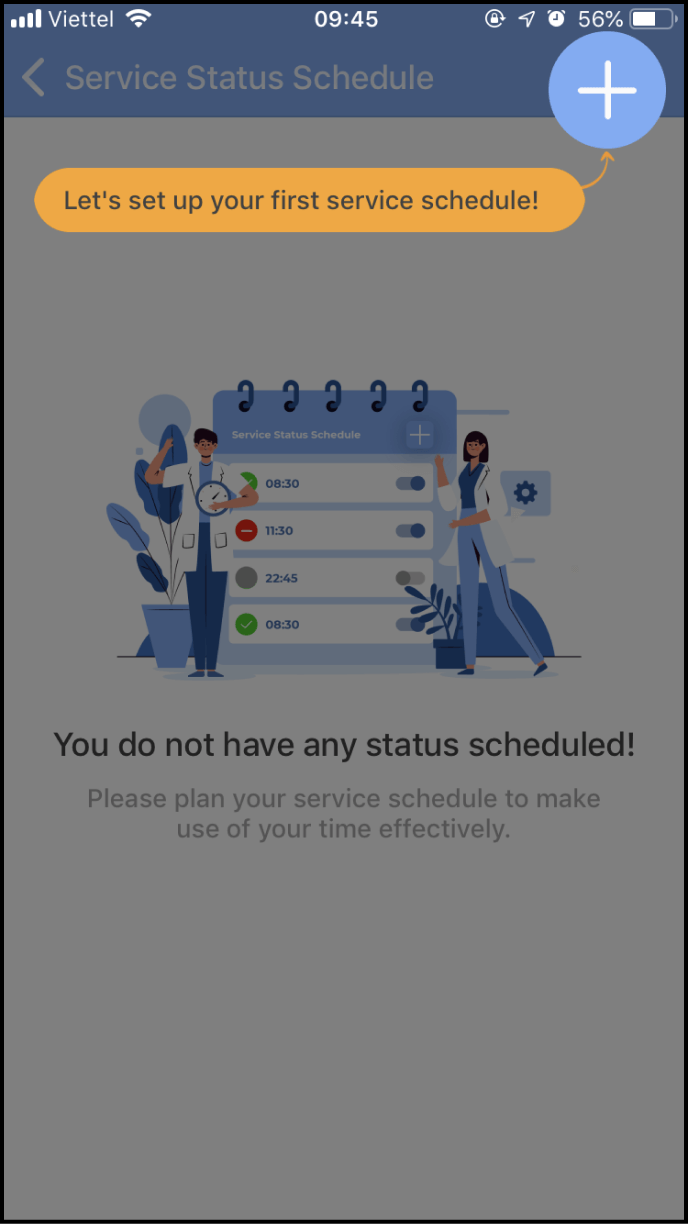
Open the app and click Schedule below your avatar to enter the Service Status Schedule screen. Then, click + at the top right corner of this screen
2-2. Add a new service status schedule
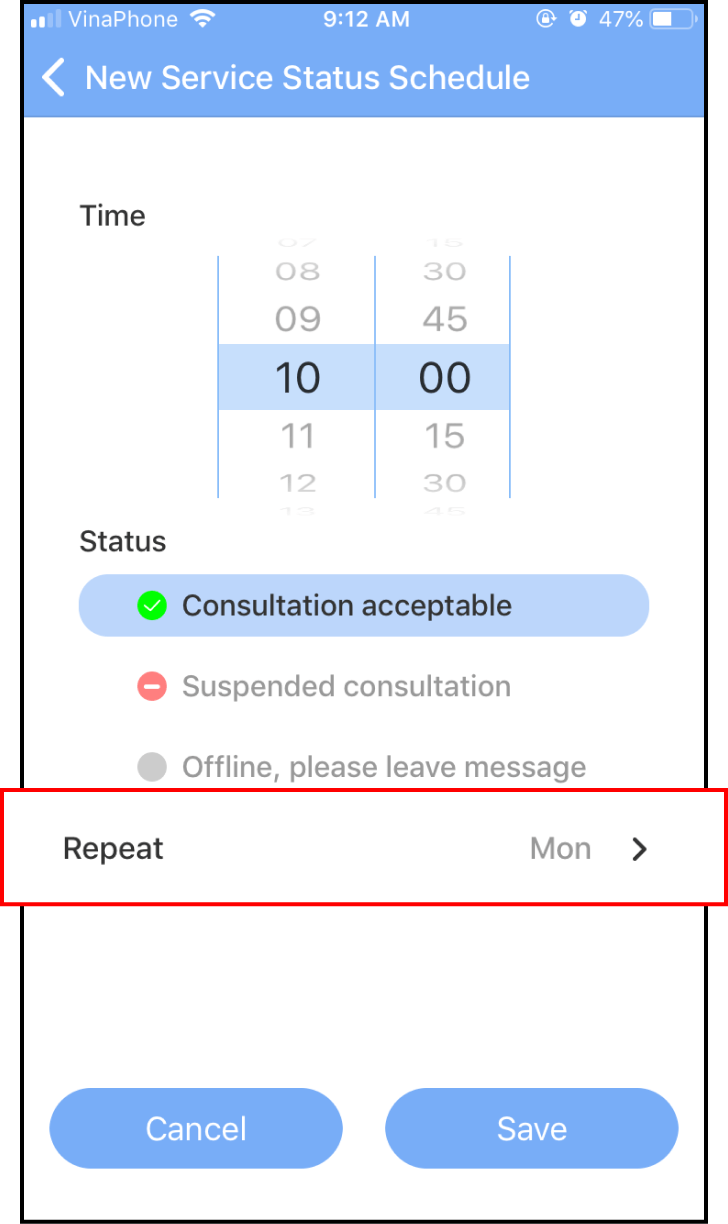
In the New Service Status Schedule screen, please set the time and respective status
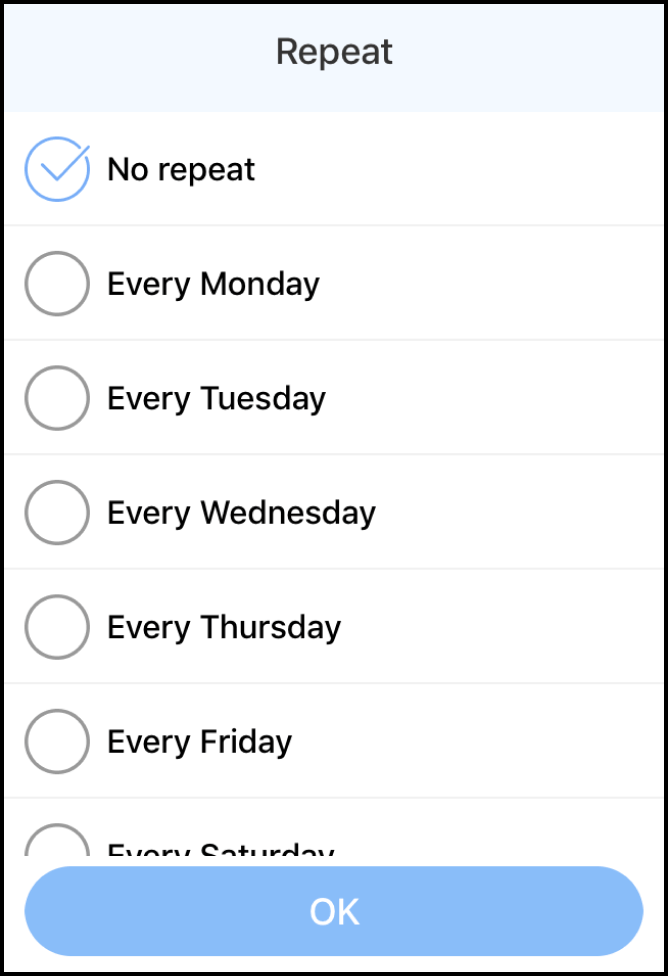
Click on Repeat and select the days you want to repeat this status on a weekly basis
2-3. More information about setting your Service Status Schedule
For instance:
You want to start your consultations at 9:30 a.m and end your consultations at 12:00 p.m every day.
Every Monday, Wednesday and Friday at 3:00pm, your consultaion type is set to "leaving messages." At 6:00 p.m, you do not accept any more consultations

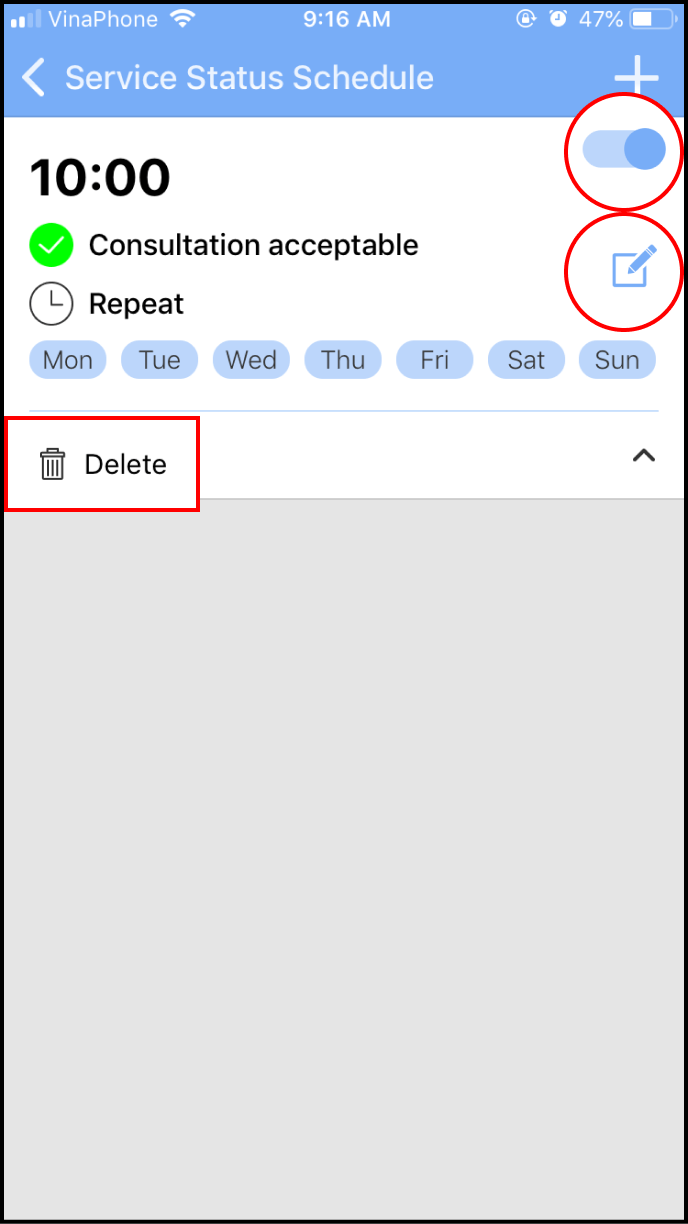
2-4. Edit or Delete a scheduling item in your Service Status Schedule
After adding new service status schedules, you can edit or delete them at any time
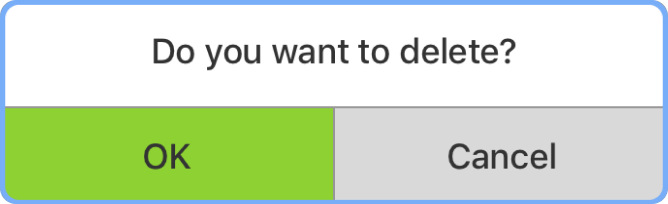
Please click on the Switch button to set the activation of your status. Click the Edit icon to change the time and status. Click the Delete icon to remove the service status schedule